How to Draw a Hammer Step by Step
This tutorial shows how to draw a hammer in six steps. It provides illustrated examples an straightforward instructions.
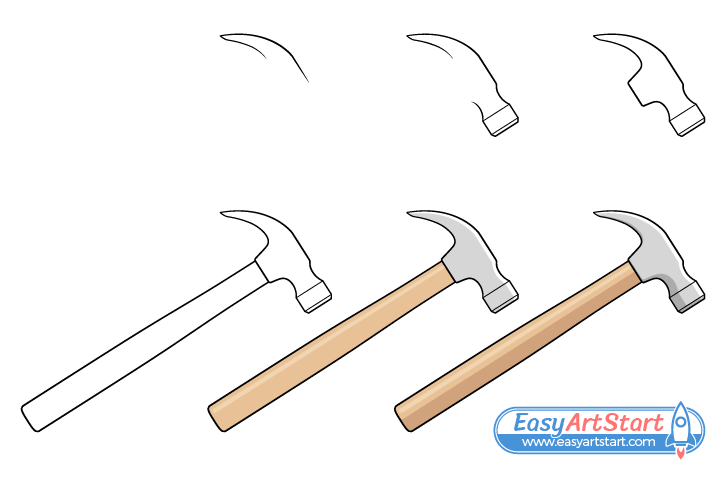
A hammer is a fairly common tool. This guide shows how to draw one with a very simple design consisting of a metallic head and a wooden handle. The tutorial first explains how to create the line drawing and then shows how to apply some basic color and shading.
It’s recommended that you start in pencil and make light lines until you have all parts of the hammer drawn out. This will make it easy to correct any potential mistakes. You can darken your lines before coloring.
Step 1 – Draw the Claw of the Hammer
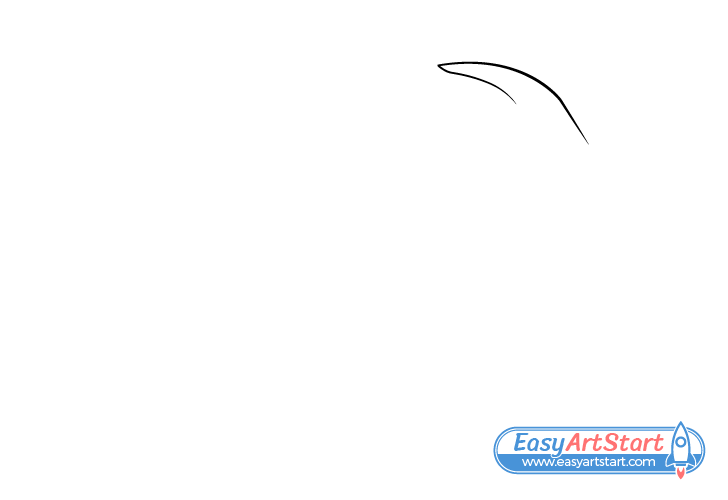
Begin the drawing with the claw at the top of hammer’s head. This is the curved part that is usually used for pulling out nails. Make it narrower at the top and wider as it goes down. The claw should then transition into the middle part o the hammer. At this stage of the drawing you can simply show the frond end of this with a straight line going down from the front of the curve.
Step 2 – Draw the Neck & Poll
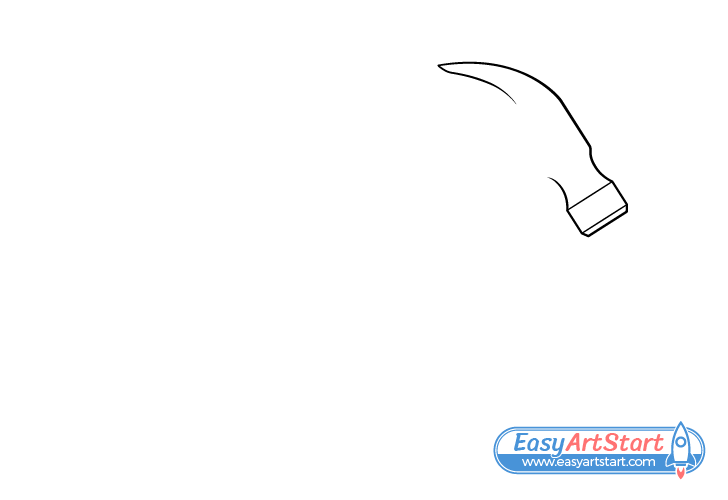
Add the area near the bottom of the hammer (where it gets narrower) called the neck. Draw this as a pair of inwards curves.
Onto the neck add the shaft (bottom part of the hammer’s head). Make this of even thickness throughout most of it’s length (other than the little bit at the bottom).
Step 3 – Draw the Eye Area
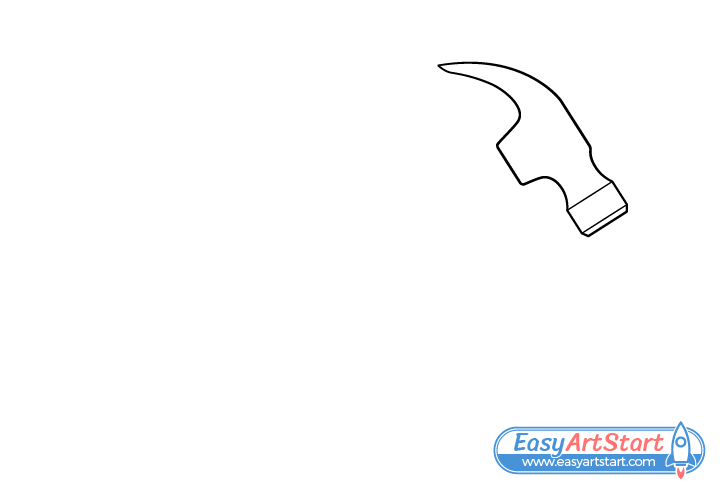
For the last part of the hammer’s head draw the area at the back that has the opening for the handle (called the eye). Make this area slightly narrower as it goes towards the back.
Step 4 – Draw the Handle
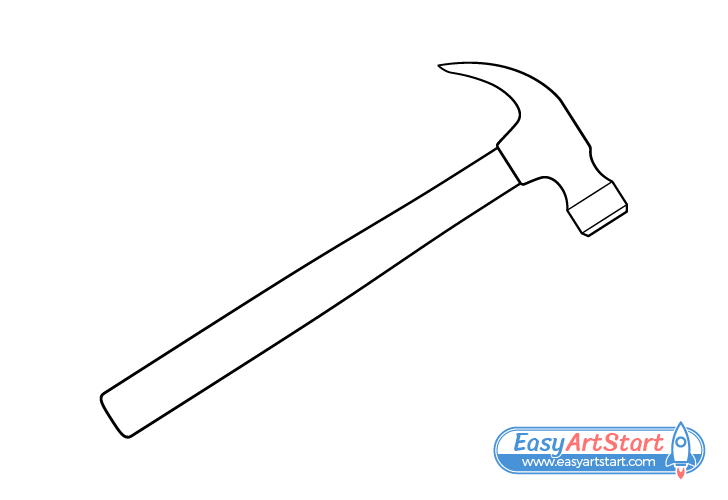
Going out of the back of head add the handle. Draw this part getting thicker as it goes towards the grip (the area where the hammer is held) and make the grip itself of fairly even thickness throughout.
Once you’ve added the handle you can trace over your drawing with a thin black marker or simply darken your lines with the pencil.
Step 5 – Color the Hammer
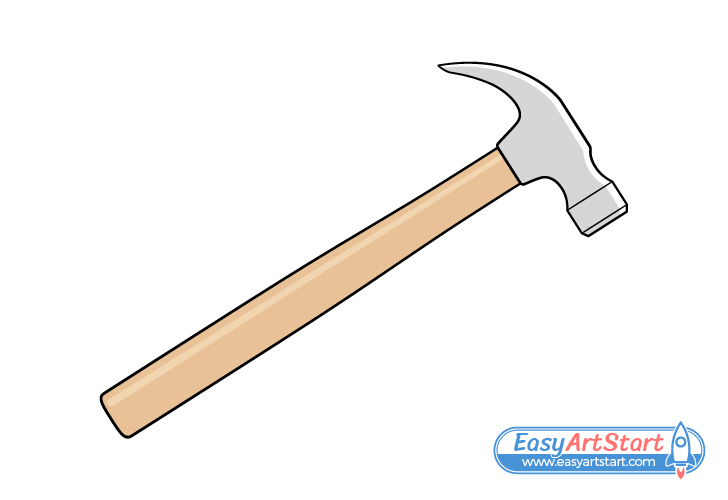
To color the drawing make the head of the hammer a light grey (so that it looks like metal) and the handle a light orange/brown (so that it looks like wood).
You can use a regular pencil for the grey and and colored pencils or paints for the orange/brown.
Leave a white area along the front of the handle to show light reflecting from it’s smooth metallic surface. Also leave a lighter area along the handle. As wooden surface is generally not as reflecting as a metallic one, go over this reflection with a lighter variant of the orange/brown so that it does not look as bright.
You can either lightly outline the reflections beforehand or create them as you color.
Step 6 – Add Shading
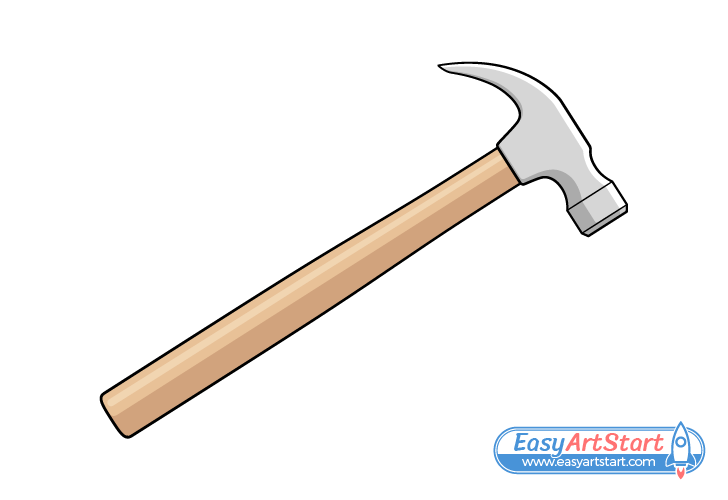
Finally, to make the drawing appear more three dimensional you can also add a few shadows. In this case the light is coming from the upper right of the hammer (also slightly to the front of it) so shadows will be created in the opposite direction. Show this by darkening the back and lower end of the head and the lower half of the shaft.
Conclusion
This guide shows how to draw a hammer starting with a simple line drawing to created it shape. It then shows how you can apply some basic shading to give the hammer a more three dimensional appearance. Hopefully you’ve found the provided tips and example helpful.
For more similar tutorials also be sure to try:


