How to Draw a Key Step by Step (Easy)
This tutorial shows how to draw a key in six easy steps. The kind of key shown in the example is usually one used for a door lock.
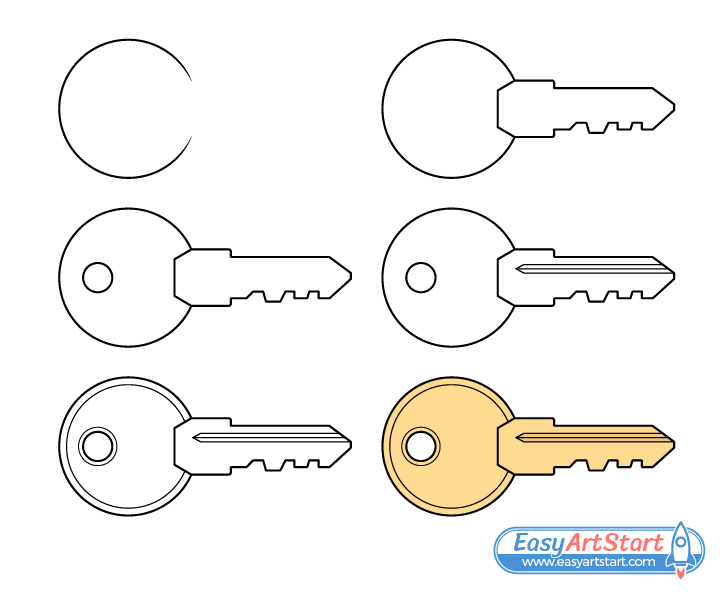
The key in this case has a fairly common design with a round bow and a blade with teeth and notches along it’s bottom. Drawing it is quite easy making this tutorial fairly quick and beginner friendly.
It’s recommended that you start in pencil and make light and easy to erase lines just in case of a mistake. You can darken them once you have all parts of the key outlined.
Step 1 – Draw the Bow of the Key

Start the drawing with the key’s bow (the part where it’s held). As already mentioned, in this example it’s round so you can just draw it as a circle with an opening on one of it’s sides (for the blade).
Step 2 – Draw the Blade
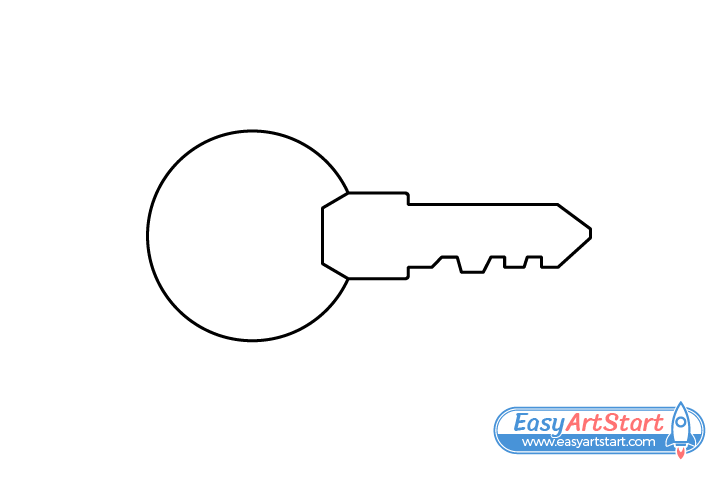
Onto the bow add the blade (the part that goes into the keyhole). Draw this with a wider are near the bow, a flat top and a fairly pointy tip. Next, draw the notches and teeth (of different sizes) along it’s bottom.
Step 3 – Draw the Hole
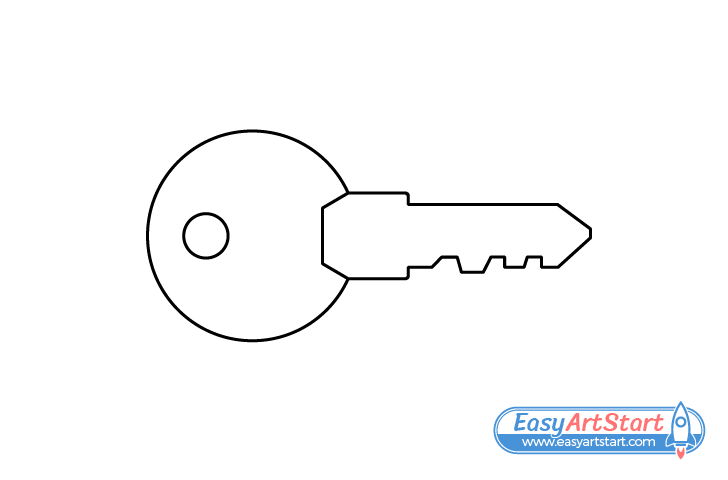
Draw a hole in the bow near the side opposite the blade. Key’s generally have these so you can hang them on key ring or a key holder.
Step 4 – Draw the Groove Along the Blade
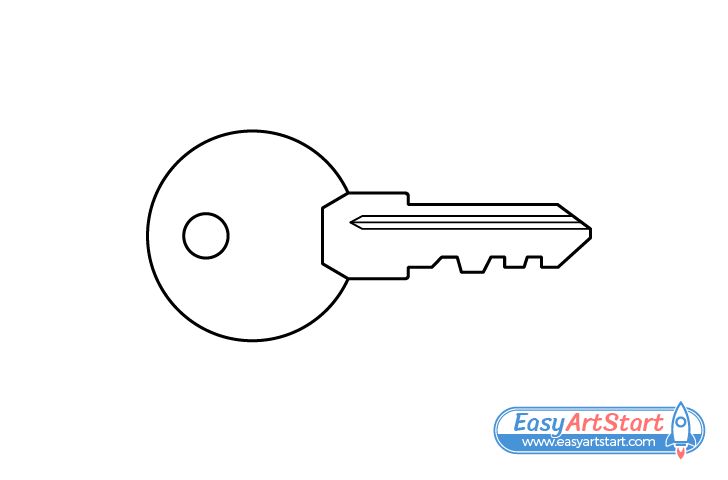
Keys of this type usually have a groove or grooves along their blade to help guide them into the keyhole. Draw one along it’s upper end as shown in the example.
Step 5 – Draw the Rims Around the Bow & Hole
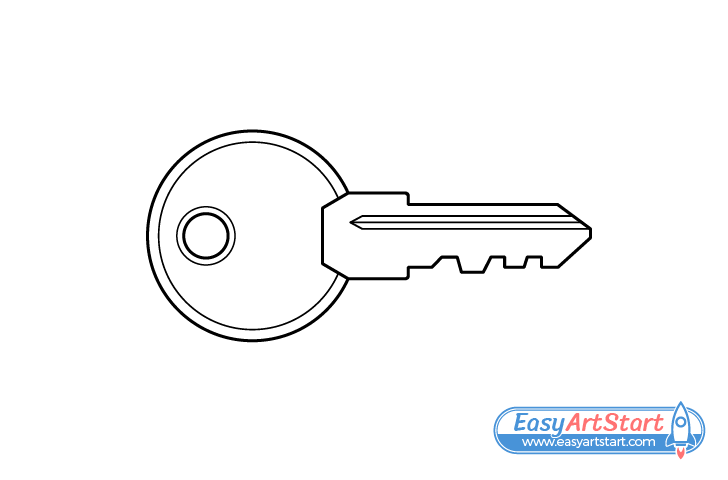
Key bows and holes tend to have rims around them. Draw a slightly thicker one around the bow and and a thinner one along the hole as shown above.
After you’ve added these last two parts of the key you can trace over your drawing with darker lines (as was mentioned at the start of the tutorial). Either do this by pressing harder on the pencil or use a thin black marker.
Step 6 – Color the Key
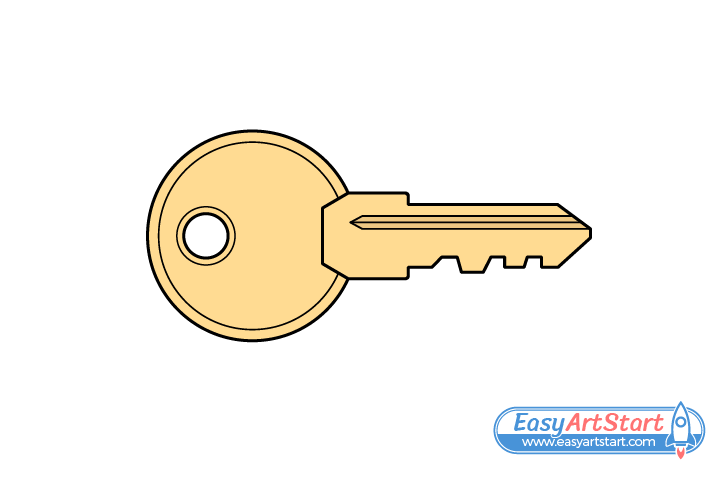
To color the key make it yellow (optionally with a bit of brown) so that it looks like brass. Make the groove along the blade a little darker by shading it with a regular pencil.
Alternatively, you can also use a regular pencil to make the key grey so that it looks like a different kind of metal (stainless steel for example).
Conclusion
This tutorial shows how to draw a simple key with a design that is common to such devices.
As with many objects a good approach to drawing a key is to start out with it’s larger parts and make sure that you have their correct shapes and proportions before moving on to the smaller details.
If you like these kind of guides with simple illustrations and easy to follow instructions also be sure to try the following:


