How to Draw a Phone Step by Step
This tutorial shows how to draw a phone with step by step examples. The type of phone shown is a mobile, a cell or a smartphone.
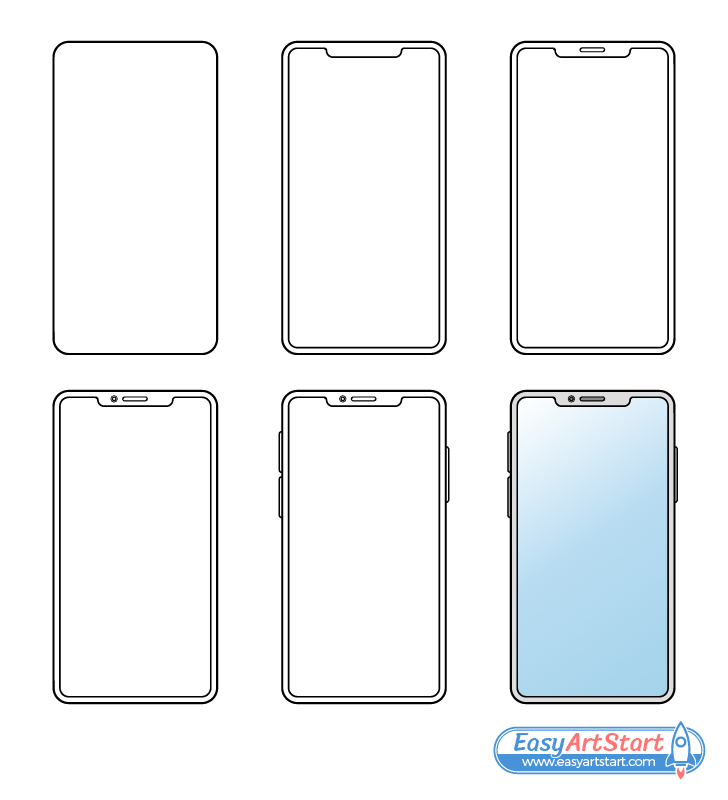
The tutorial shows a good drawing approach that starts with outlining the larger parts of the phone followed by the smaller details. It also gives and example of how to apply some basic color.
Overall this guide is quite simple and beginner friendly but the drawing consists of many straight lines. If you are having trouble making these you can use a ruler to help you. However, if you want to improve as an artist it’s better to try and make them by hand.
If you are going to be following along you should do so in pencil. Make light and easy to erase lines until you’ve added all parts of the phone. You can then trace over them with a thin black marker. If you don’t have one around just darken your lines with the pencil.
Step 1 – Draw an Outline of the Phone’s Shape
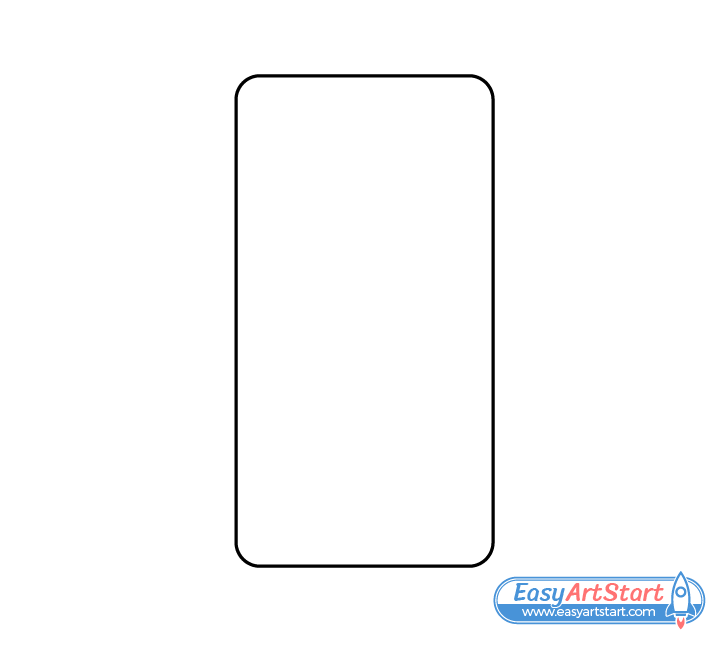
Start by outlining the main shape of the phone. As for most smartphones make it rectangular with rounded corners.
Step 2 – Draw the Screen
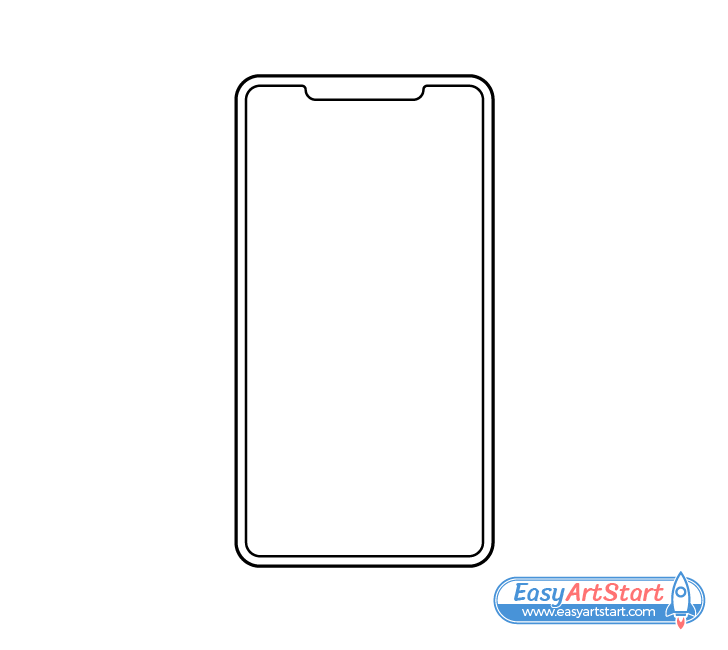
Inside the main outline of the phone draw the screen. Make the screen’s shape pretty much the same (excluding the small area at the top) but smaller so that a thin frame is created around it’s edges.
Step 3 – Draw the Speaker
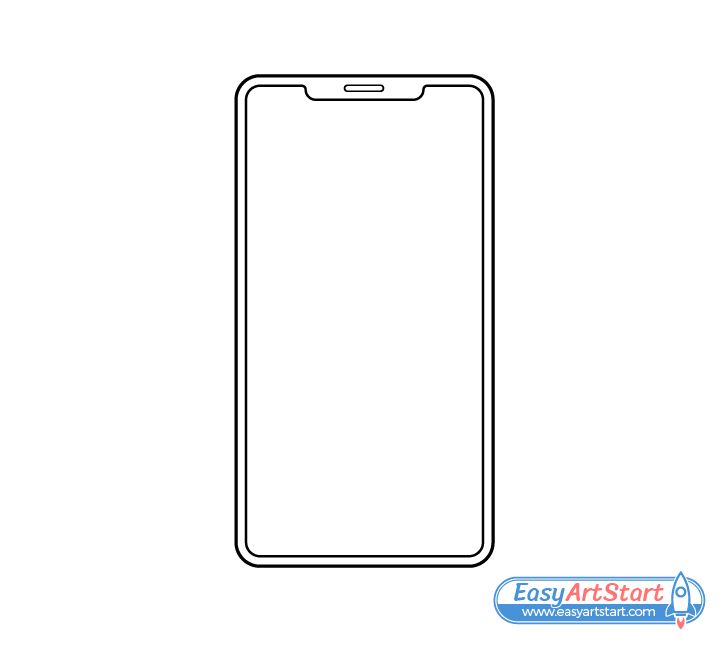
At the upper part of the phone add the speaker (shaped as shown in the example). Draw it as a thin strip with rounded sides.
Step 4 – Draw the Camera
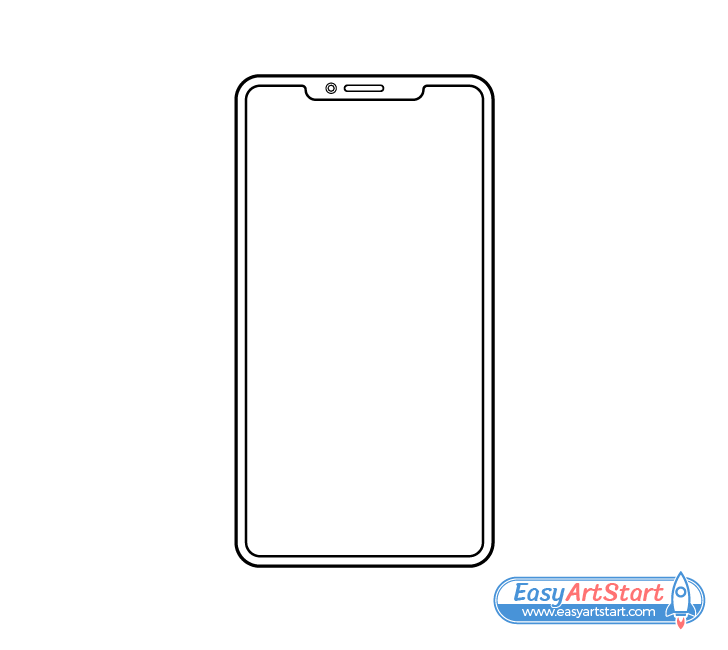
Next to the speaker add a camera. Show this as a small circle with an even smaller one inside it.
Step 5 – Draw the Buttons
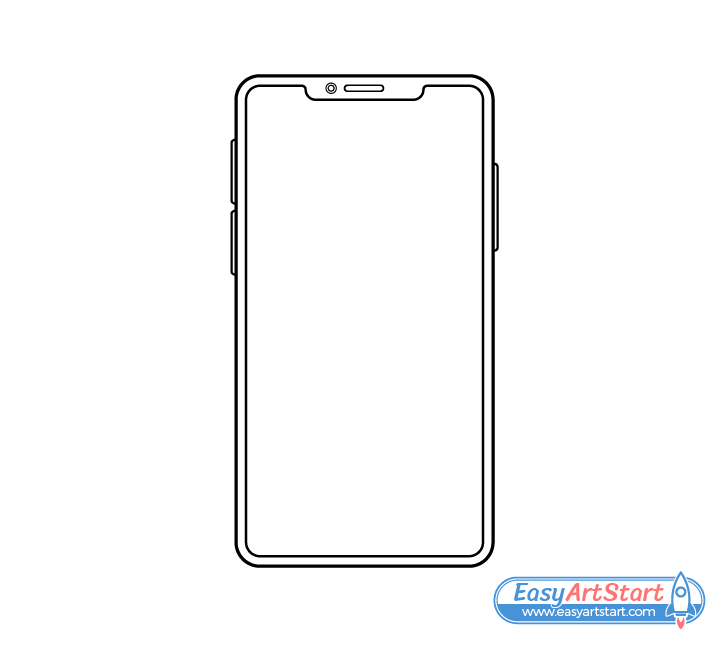
Draw the buttons along the sides of the phone with two smaller ones on one side and a larger one on the other.
Step 6 – Color the Phone
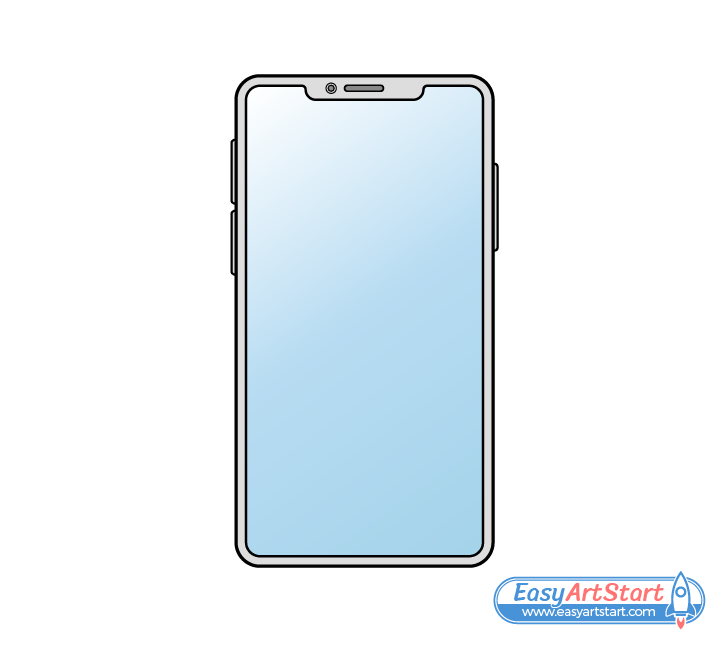
To color the drawing you can make the phone and the buttons any color you like. Make the camera and the speaker black or dark grey and make the screen blue.
When coloring the screen add a little white gradient towards it’s upper left corner. This will help show light reflecting from the screen’s surface and make it appear more glass-like.
An easy way to create the gradient is by using the white of the paper and a blue pencil. Gradually apply less and less pressure on the pencil to blend the blue with the white.
You can use whatever you prefer to color the rest of the phone. If you would like to make it grey as in the example simply shade it with a regular pencil.
Conclusion
This tutorial shows an easy way to draw a smartphone with a design and parts that are common for such devices.
Generally when drawing an object with multiple parts it’s a good idea to start with the larger ones and then add in the small details. In this case having the outlines of the main parts of the phone makes it easier to place it’s smaller features such as the buttons and camera.
As was also mentioned, a ruler can be helpful for this particular drawing (due to the many straight lines) but generally it’s better to learn to draw without one. With practice your hand can get steady enough to make straight lines with no guides. This can make drawing much faster and more fun.
If you liked this guide and found it helpful, you may also wish to try the following tutorials:


